 Cedmenu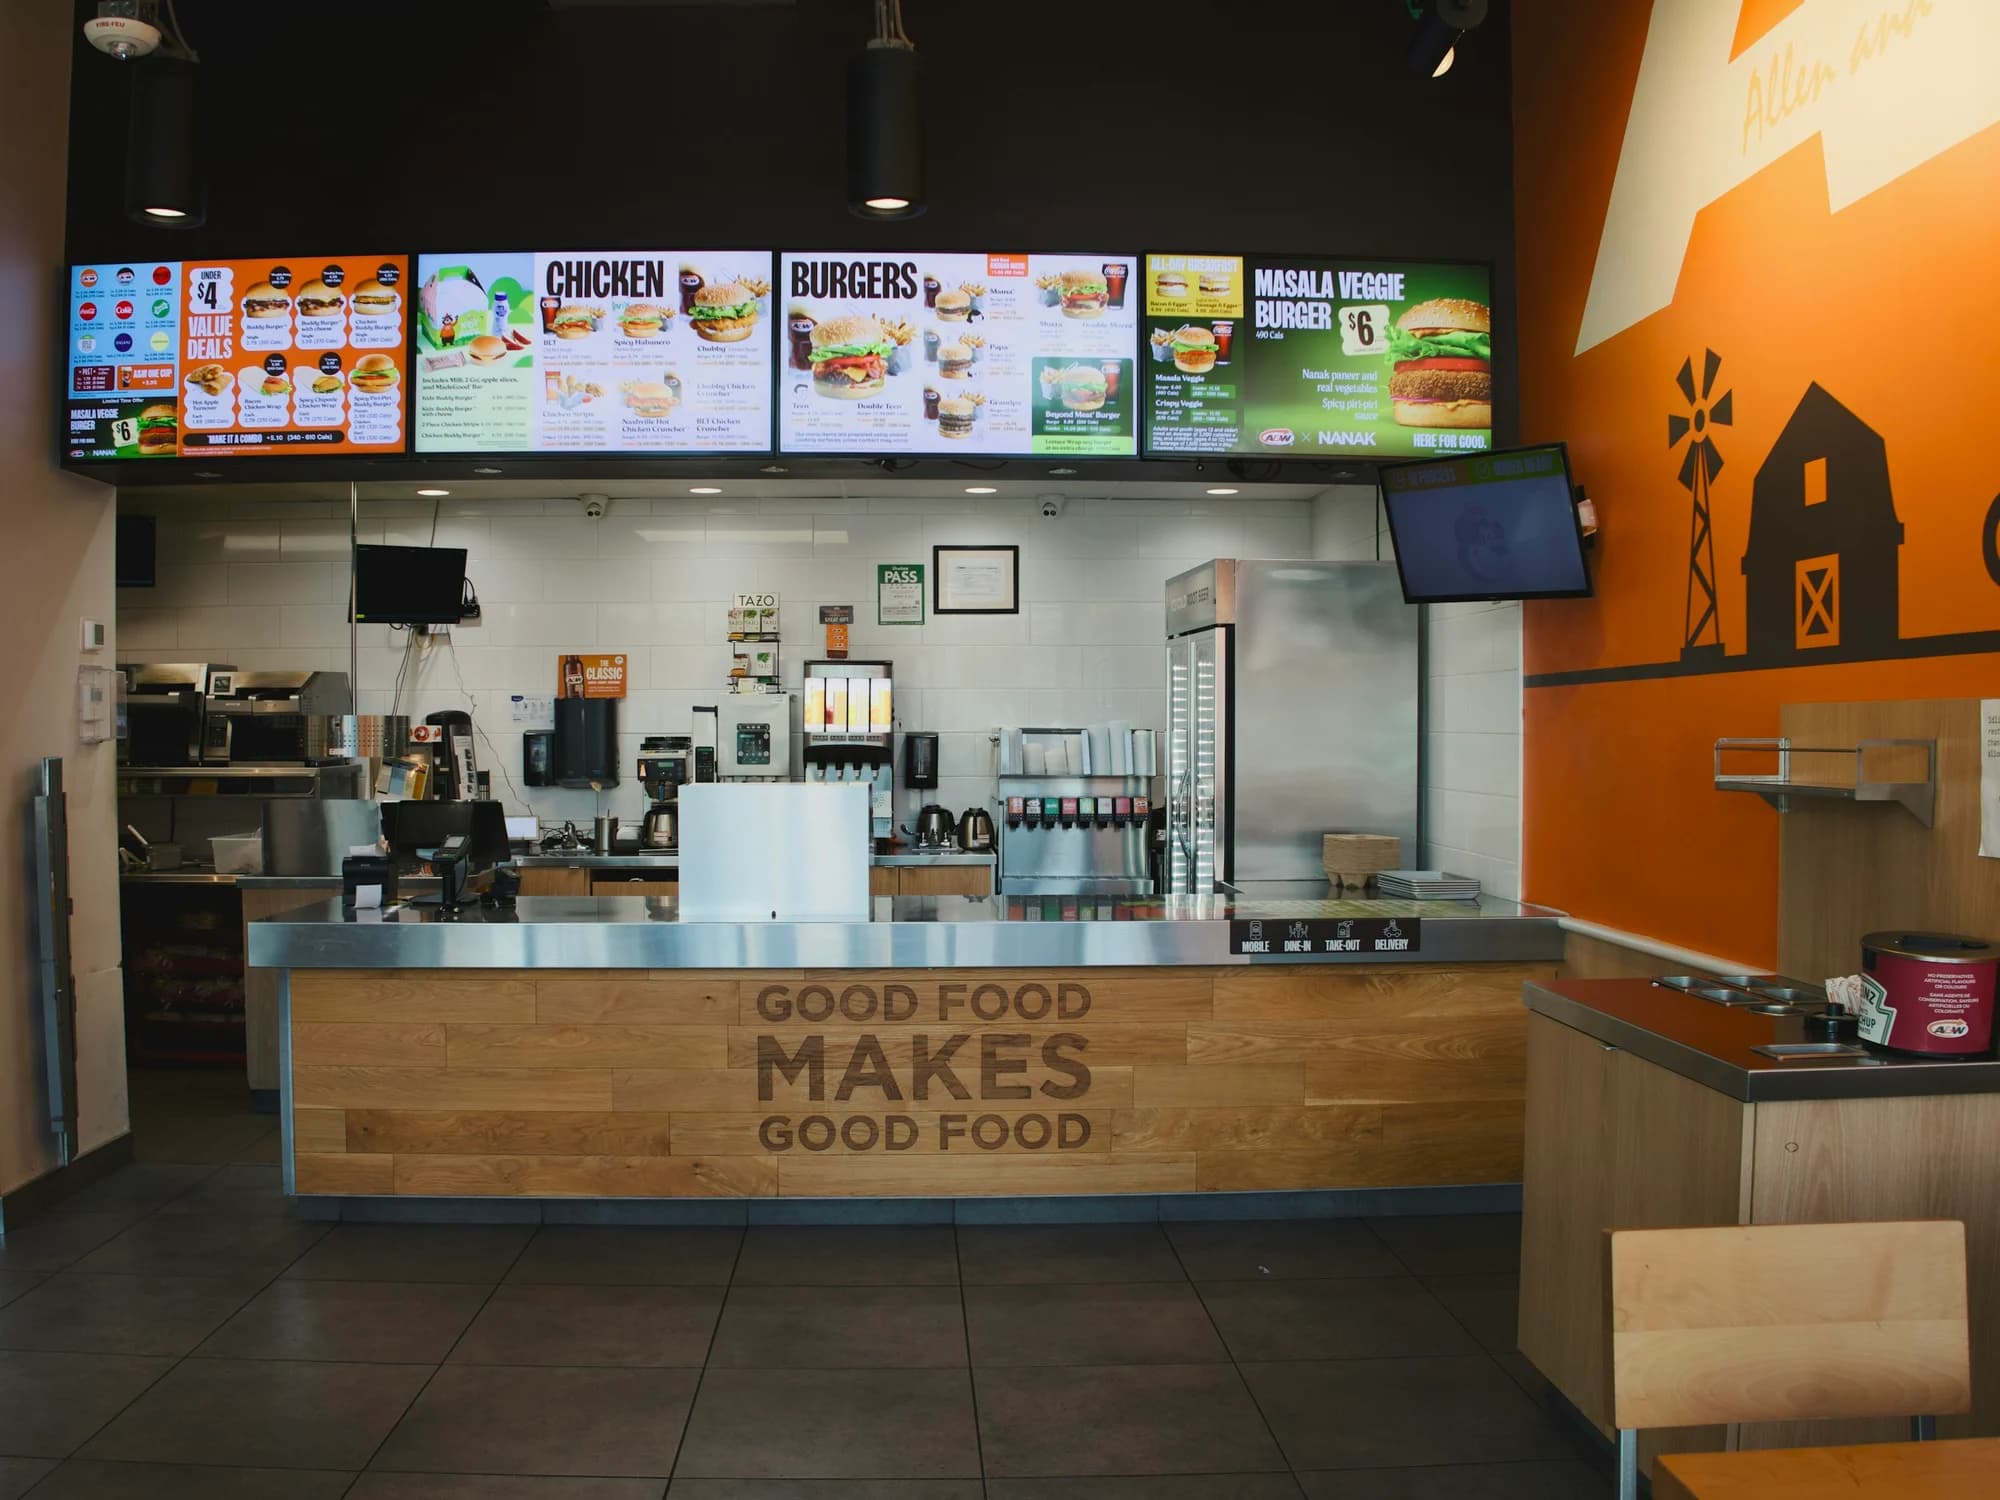
Choose screen sizes and plan your player setup
Measure the customer’s view, compare physical dimensions and confirm the equipment before setting up your boards.
Plan the whole screen arrangement from the customer’s view. Illustrative restaurant photo. Photo: Ryan Collins / Unsplash
Plan the space and menu, then confirm the TV, player and artwork work together. CedMenu provides software, player boxes and custom design, with help installing and setting up the boxes. Arrange TV mounting and building wiring separately.
Measure from the customer’s view
From the queue and counter, record the nearest and farthest reading positions, available wall width and height, obstructions, glare through the day, intended orientation and daily operating hours.
Plan each screen’s content before choosing its size. Several screens can give categories their own space if customers can follow the complete arrangement. Use the menu-layout guide to plan those choices.
Compare the space each screen occupies
A TV’s advertised size is its diagonal: a 55-inch screen is not 55 inches wide. Samsung’s measurement guide explains this distinction. The table shows approximate visible image dimensions for flat 16:9 screens in landscape.
| Screen diagonal | Image width × height, inches | Image width × height, centimetres |
|---|---|---|
| 32 inches | 27.9 × 15.7 | 71 × 40 |
| 43 inches | 37.5 × 21.1 | 95 × 54 |
| 50 inches | 43.6 × 24.5 | 111 × 62 |
| 55 inches | 47.9 × 27.0 | 122 × 68 |
| 65 inches | 56.7 × 31.9 | 144 × 81 |
| 75 inches | 65.4 × 36.8 | 166 × 93 |
These calculated, rounded dimensions exclude the frame, stand, mounting hardware and required clearance. Check the exact model’s dimensions and installation instructions. For portrait, swap image width and height and confirm display and player support.
Two 43-inch 16:9 image areas span about 75 inches before frames, gaps and clearances. Measure the complete products. Test the same proportioned menu on candidate screens from actual viewing positions. Simplify content and enlarge text before reassessing size; these are trials, not guaranteed viewing-distance specifications.
Match the artwork to the display
Full HD is 1920 × 1080 pixels; 4K UHD is 3840 × 2160 pixels in landscape. Both use 16:9. Sony’s resolution guide explains the terms. Resolution describes detail; it does not make small text physically larger. A 4K screen needs supported player output and content to show finer detail.
Confirm canvas size, player output and orientation together. Rework landscape artwork for portrait use. Check for stretching, cropped prices and cut-off edges.
Check the TV and player combination
Send exact TV models, screen count, orientation and connection photos, plus any existing player’s make and model. CedMenu checks these before confirming the equipment. An HDMI socket, smart-TV label or existing streaming stick does not establish compatibility.
| Part of the setup | What to confirm with CedMenu |
|---|---|
| TV or commercial display | Model, available input, supported resolution, orientation and intended operating hours |
| Player box | Exact model supplied or approved for this project, its power requirements and supported output |
| Video connection | Required cable and adapters, cable route and the input to select on the TV |
| Network | Whether the agreed player uses Ethernet or Wi-Fi and whether it can connect reliably at its installed position |
| Several screens | Which player output feeds each display and whether screens need independent content or the same content |
| Content and schedules | Supported media, assigned boards, restaurant time zone and expected update behaviour |
| Connection interruption | What remains available locally, which updates need a connection and how playback recovers |
Check the manufacturer’s operating-hours rating, orientation guidance, ventilation and warranty for your setting. Samsung’s commercial-display specifications illustrate how operating-hour ratings differ between ranges.
Prepare the site and connect the boxes
Have TVs safely installed with suitable power and agreed network access. Follow manufacturer instructions and keep ventilation clear. Use appropriate professionals for mounting, electrical work and building wiring.
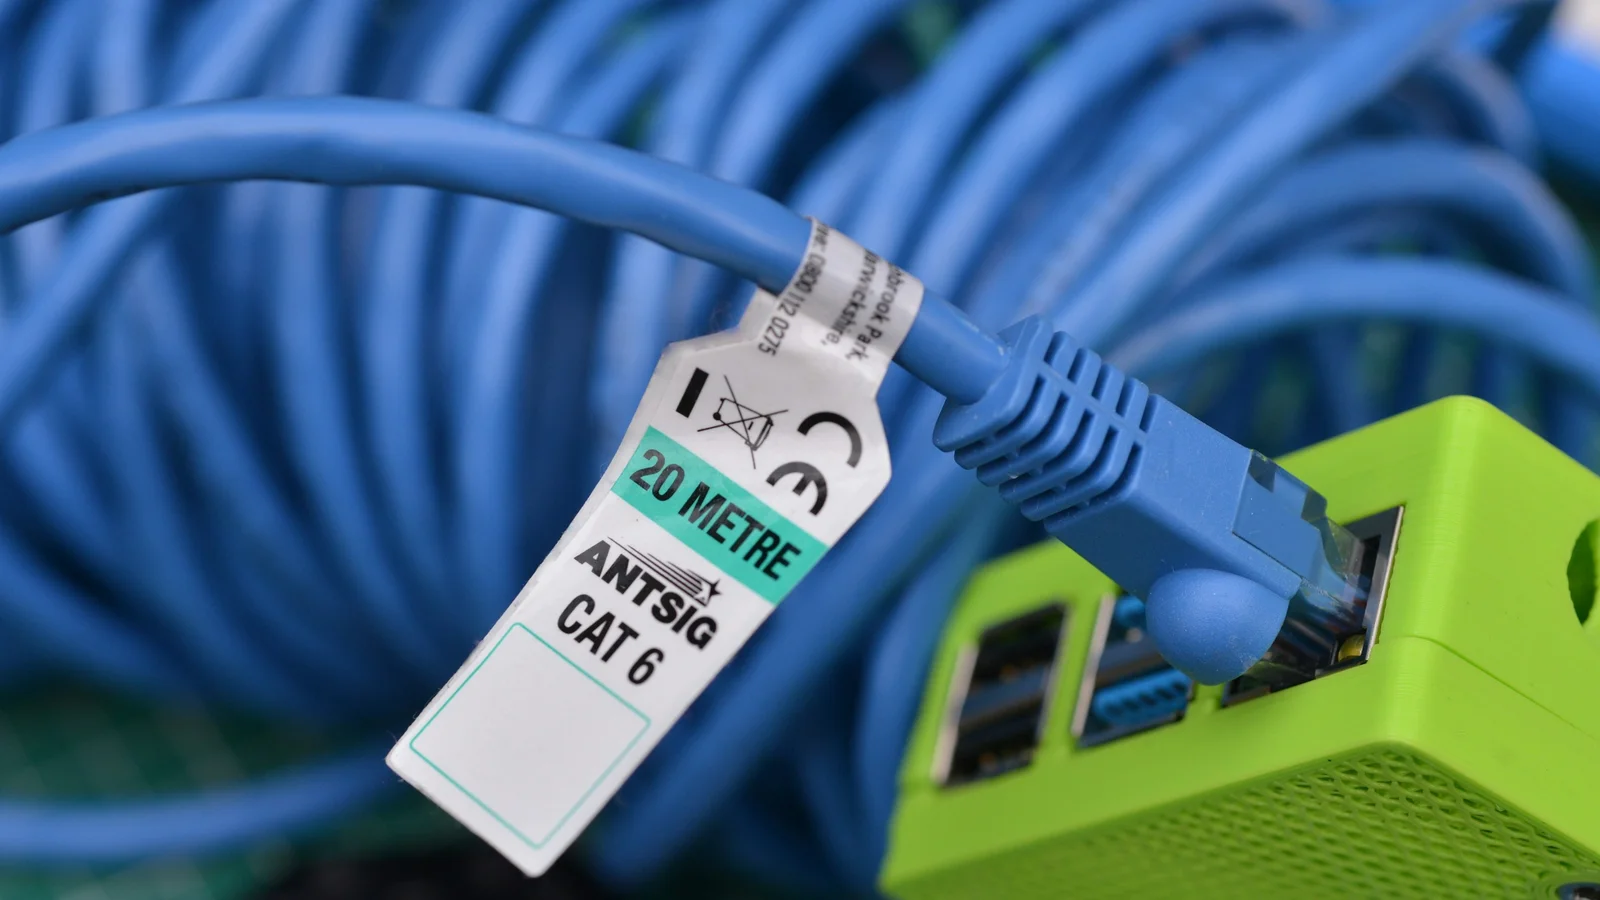
During agreed box setup, label each display by position and assigned board. Connect approved player outputs using agreed cables and specified power supplies. Select the correct TV input and check the complete test image. Connect the network through the supplied setup process.
Confirm restaurant, screen assignment, orientation and output before loading approved content. Test a menu update and any included scheduled transition. Exact pairing steps depend on the equipment; confirm what staff should do if updates fail. Keep credentials out of the brief.
Check the menu on the actual screens
Ask someone unfamiliar with the design to find a meal, price and included items from the queue. Check category placement, legibility, reflections, cropping and agreement with current food and prices. Give rotating content enough reading time.
Verify daypart transitions at the intended local time and an agreed restart test outside service. Confirm who requests changes, approves them and reports problems. Offline behaviour depends on the player and configuration: downloaded content may remain available where local caching is supported and enabled. New updates and POS sync need a connection.
If a board looks wrong
| What you see | First checks |
|---|---|
| No picture | Display power, player power, selected TV input and the agreed video connection |
| Cut-off edges or stretched content | Artwork aspect ratio, player output and the TV's picture-size setting |
| Wrong menu on a screen | Screen label, restaurant assignment, approved board version and schedule |
| Old content | Player connection, last successful update and whether the intended version was approved and published |
| Text that looks sharp but is hard to read | Physical text size, content density, viewing position and glare |
If these checks do not resolve it, use the agreed support process. Share the screen label, time, a photo and the last change. Leave credentials out.
Bring a useful setup brief
Collect the restaurant and location, screen models and positions, available space, reading distances, orientation, operating hours, existing players, inputs and network. Add counter and connection photos, each screen’s content and schedules, the menu approver and who handles mounting, power and wiring.
Use the menu-update guide to agree on review responsibilities, POS sync and schedules. Your quote should confirm compatibility, inclusions and ongoing support.
Start with your equipment and menu. Confirm the complete setup before buying, then review it from the counter. Get a custom quote →